![]()
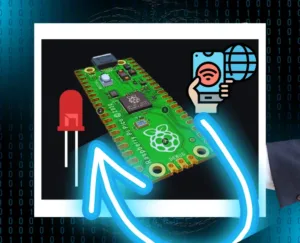
IoT Unlocked: Your Journey to Innovation Starts Now
![]()
IoT Unlocked: Your Journey to Innovation Starts Now
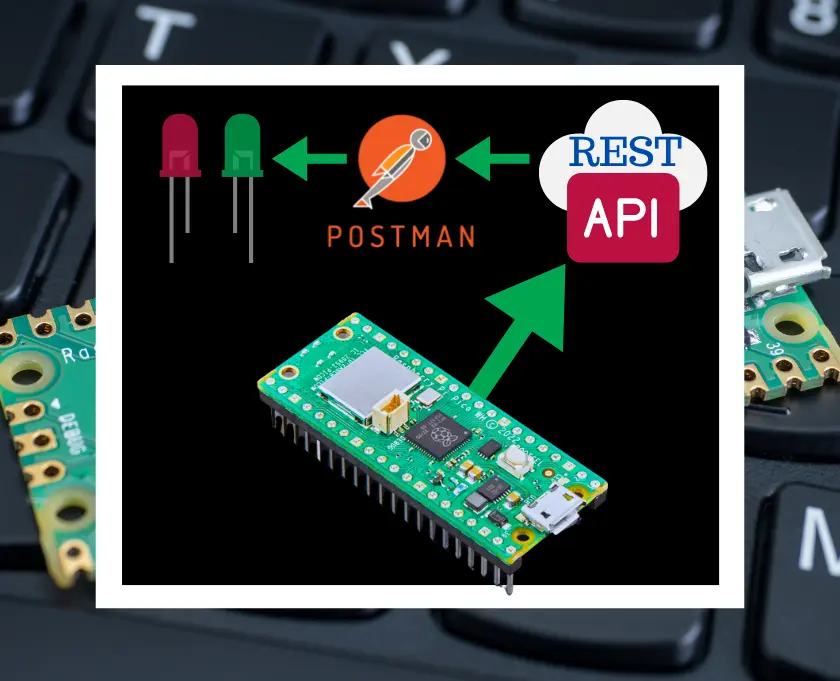
In this tutorial, I will demonstrate how to build REST API on Raspberry Pi Pico W microcontroller board and control the LEDs using Postman client. We will set up endpoints to fetch temperature readings and control LEDs connected to the Raspberry Pi Pico W. We will use the phew library to create the REST API server and interact with the GPIO pins.
We are going to use the Postman for making the GET and POST calls for our REST APIs in order to get the temperature and control 2 LEDs green and red.
Before we begin, ensure you have the following:
If you are beginner and just want to start setting up Raspberry Pi Pico W for the first time, I suggest you to follow this detailed guide: How To Get Started With Raspberry Pi Pico in 2024.

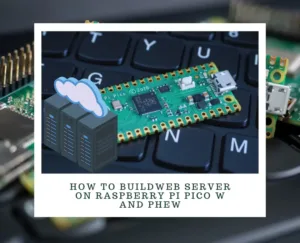
To create the REST API we are using Phew library, A small webserver and templating library specifically designed for MicroPython on the Pico W. It aims to provide a complete toolkit for easily creating high quality web based interfaces for your projects.
To install the Phew into Thonny IDE, simple lest approach is to type the below into the Shell (REPL).
pip install micropython-phewThere is other way to install which you follow along the video.
Create the file name as main.py and write the below code for Build REST API on Raspberry Pi Pico W and Control LEDs via Postman and then upload to Raspberry Pi Pico W:
from phew import server, connect_to_wifi
import machine
import json

# Connect to Wi-Fi
ip = connect_to_wifi("YOUR_SSID", "YOUR_PASSWORD")

# Define LED pins
led_green = machine.Pin(0, machine.Pin.OUT)
led_red = machine.Pin(1, machine.Pin.OUT)

print("Connected to IP: ", ip)

# Endpoint to fetch temperature
@server.route("/api/temperature", methods=["GET"])
def get_temperature(request):
    adc = machine.ADC(4)  # Use ADC pin GP4
    conversion_factor = 3.3 / (65535)  # ADC conversion factor
    sensor_value = adc.read_u16() * conversion_factor
    temperature = 27 - (sensor_value - 0.706) / 0.001721  # Convert sensor value to temperature (formula may vary)

    return json.dumps({"temperature": temperature}), 200, {"Content-Type": "application/json"}

# Endpoint to control LEDs
@server.route("/api/control-led", methods=["POST"])
def led_command(request):
    led_red.value(request.data["ledRed"])
    led_green.value(request.data["ledGreen"])
    return json.dumps({"message": "Command sent successfully!"}), 200, {"Content-Type": "application/json"}

# Catchall endpoint for invalid URLs
@server.catchall()
def catchall(request):
    return json.dumps({"message": "URL not found!"}), 404, {"Content-Type": "application/json"}

# Run the server
server.run()
Replace "YOUR_SSID" and "YOUR_PASSWORD" with your Wi-Fi network credentials.
You can get the same from RajivCodeLab’s Gist.
We are going to use Postman for making the GET and POST calls for our REST APIs in order to get the temperature and control 2 LEDs (green and red).
http://<raspberry_pi_ip>/api/temperature to fetch temperature readings from the sensor.http://<raspberry_pi_ip>/api/control-led with the following JSON body to control the LEDs:{
"ledRed": 1,
"ledGreen": 0
}
This will turn on the red LED and turn off the green LED.
If you found this project helpful or valuable, please consider supporting the creator by buying them a coffee. Your contribution helps in maintaining and improving the project.

In this tutorial, we learned how to build a simple REST API on Raspberry Pi Pico W to fetch temperature readings and control LEDs using the phew library. You can further extend this project by adding more endpoints for additional functionalities and integrating it with other IoT devices.
This project aims to demonstrate how to build a REST API on Raspberry Pi Pico W to control LEDs and retrieve temperature data using Python and Phew library.
The REST API provides endpoints for retrieving temperature data and controlling LEDs. It listens for incoming HTTP requests and responds with the appropriate data or actions based on the request.
While this project is specifically designed for Raspberry Pi Pico W, you can adapt the code to work with other microcontrollers that support Python and have GPIO capabilities.
Phew is a lightweight Python web framework designed for microcontrollers like Raspberry Pi Pico W. It simplifies the process of creating RESTful APIs and handling HTTP requests and responses.
The accuracy of the temperature reading may vary depending on factors such as sensor calibration, environmental conditions, and hardware limitations. It’s recommended to calibrate the sensor for optimal accuracy.
While the REST API provides a convenient way to control hardware remotely, it’s essential to implement proper security measures such as authentication and encryption to prevent unauthorized access and potential security risks.
You can write the issue in comment box or you can drop a mail, also you can reach to our YouTube channel.