![]()
IoT Unlocked: Your Journey to Innovation Starts Now
![]()
IoT Unlocked: Your Journey to Innovation Starts Now

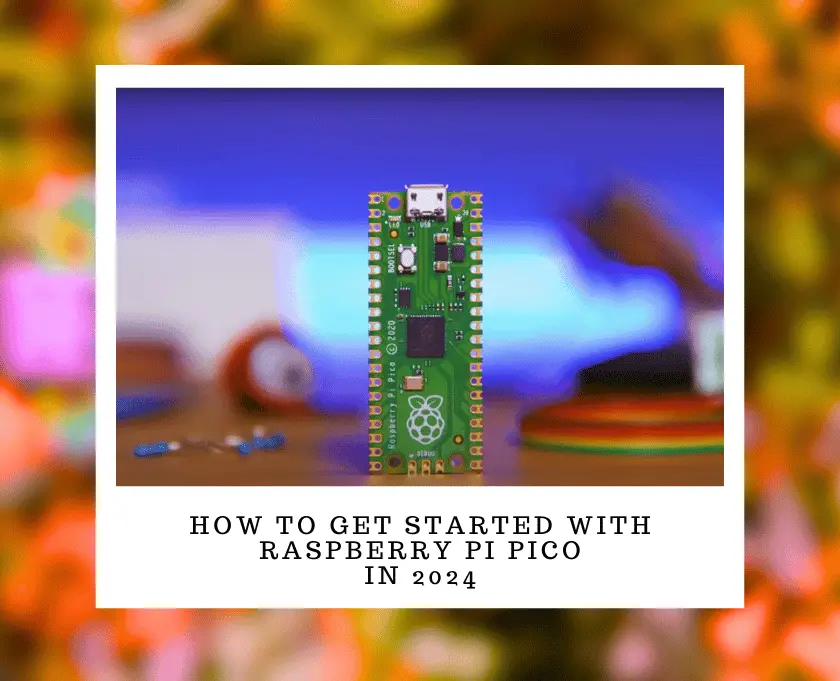
If you are beginner or want to start with Raspberry Pi Pico and MicroPython for Internet of Things projects. Here’s is How to Get Started with Raspberry Pi Pico in 2024.
In the ever-expanding world of DIY electronics, Raspberry Pi Pico has emerged as a game-changer, offering a powerful yet affordable microcontroller platform for enthusiasts and professionals alike. In 2024, Raspberry Pi Pico continues to be a popular choice for DIY enthusiasts and IoT professionals due to its affordability, versatility, and powerful RP2040 chip.
If you’re new to the world of microcontrollers or looking to dive into the latest advancements, this step-by-step guide will help you get started with Raspberry Pi Pico and embark on your coding journey. From setting up your development environment to diving into hands-on projects, this guide will equip you with the knowledge and skills to unlock the full potential of Raspberry Pi Pico.

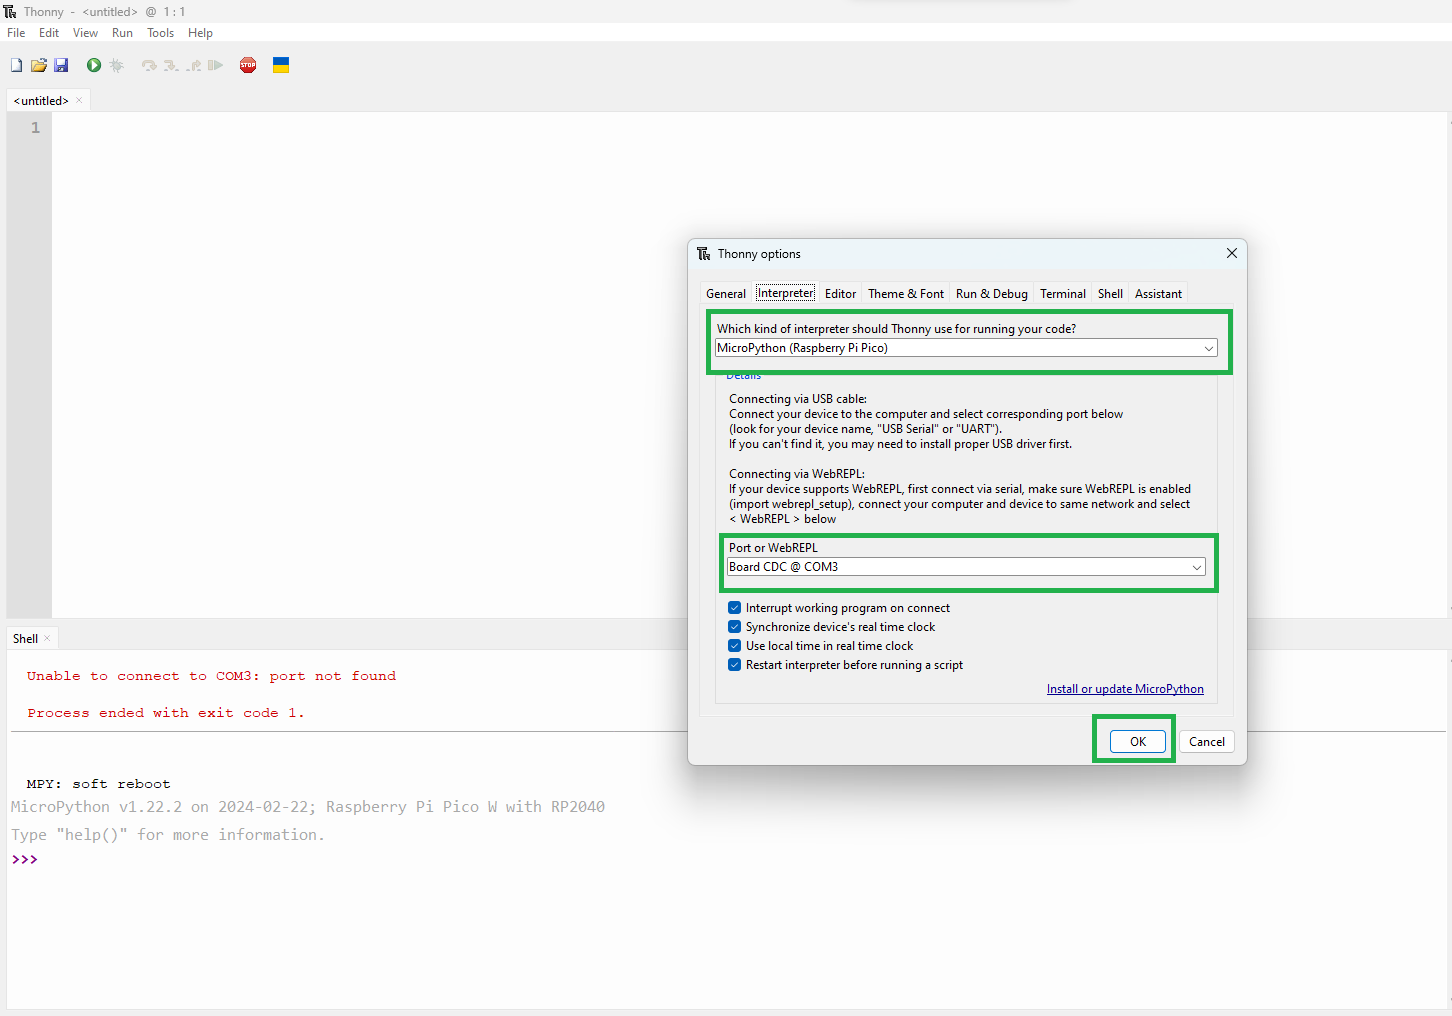
Once you drop the firmware file into the external drive created by Raspberry Pi Pico, it will be auto closed and you will get a new port for the device.


Now you are good to go for running your first Raspberry Pi Pico and MicroPython.
Now that Raspberry Pi Pico is connected, let’s write your first program to blink the onboard LED.
import machine
import time

led =  machine.Pin('LED', machine.Pin.OUT)

while True:
    led.on()
    time.sleep(0.5)
    led.off()
    time.sleep(0.5)
import machine: This imports the machine module, which provides access to the hardware-specific features of the microcontroller, such as GPIO (General Purpose Input/Output) pins, ADC (Analog to Digital Converter), and others.import time: This imports the time module, which includes functions related to time, such as delays (pausing the program for a specified amount of time).led = machine.Pin('LED', machine.Pin.OUT): This line initializes a GPIO pin as an output pin to control an LED. The machine.Pin class is used to interact with the GPIO pins. 'LED' specifies the pin identifier (which, in this case, is a placeholder and should be replaced with the actual pin number or identifier on your specific device). The second argument, machine.Pin.OUT, configures the pin as an output, meaning it can send power out from the microcontroller to an external component (in this case, an LED).while True: creates an infinite loop, meaning the code inside this loop will repeat forever, or until the device is turned off or the program is otherwise interrupted.
led.on(): This turns the LED on by sending a high signal (typically 3.3V or 5V, depending on the microcontroller) to the pin connected to the LED.time.sleep(0.5): This pauses the program for 0.5 seconds (500 milliseconds), leaving the LED on during this time.led.off(): This turns the LED off by sending a low signal (0V) to the pin, which stops the current flow to the LED.time.sleep(0.5): Again, the program pauses for 0.5 seconds, this time with the LED off.Note: The exact pin identifier 'LED' in the line led = machine.Pin('LED', machine.Pin.OUT) is a placeholder and should be replaced with the specific identifier or pin number used for the LED on your device. Some boards might have a built-in LED that could be referenced by a name like 'LED', but for others, you’ll need to use the pin number (e.g., machine.Pin(25, machine.Pin.OUT) for the Raspberry Pi Pico’s onboard LED).
Once you’ve successfully made the LED blink, you can start experimenting with more complex projects:
Raspberry Pi Pico features a plethora of GPIO pins that can be used to interface with various sensors and actuators. We’ll explore how to interact with GPIO pins using MicroPython and connect external components like LEDs, buttons, and sensors.
import machine
import time

led_pin = machine.Pin(15, machine.Pin.OUT)
button_pin = machine.Pin(14, machine.Pin.IN, machine.Pin.PULL_DOWN)

while True:
    if button_pin.value():
        led_pin.on()
    else:
        led_pin.off()
    time.sleep(0.1)
Congratulations! You’ve now completed How to get started with Raspberry Pi Pico programming in 2024. Armed with this knowledge, you’re ready to embark on your own DIY electronics adventures, whether it’s building robots, creating IoT devices, or prototyping new inventions.
The Raspberry Pi Pico is a gateway to endless possibilities in electronics and programming. With these steps, you’re well on your way to creating amazing projects and learning new skills.
Remember, the key to mastering the Raspberry Pi Pico is practice and experimentation. Have fun exploring the capabilities of your new microcontroller! 🚀